
One of the most common challenges in window tinting—especially for beginners—is dealing with white spots or contamination under the film after installation. These tiny imperfections not only ruin the appearance of the tint but can also lead to customer complaints and costly redos.
At The Tint Academy, we emphasize precision, cleanliness, and technique during our hands-on training to help you avoid this problem before it starts. In this blog, we’ll break down what causes white spots and how to prevent and fix them.
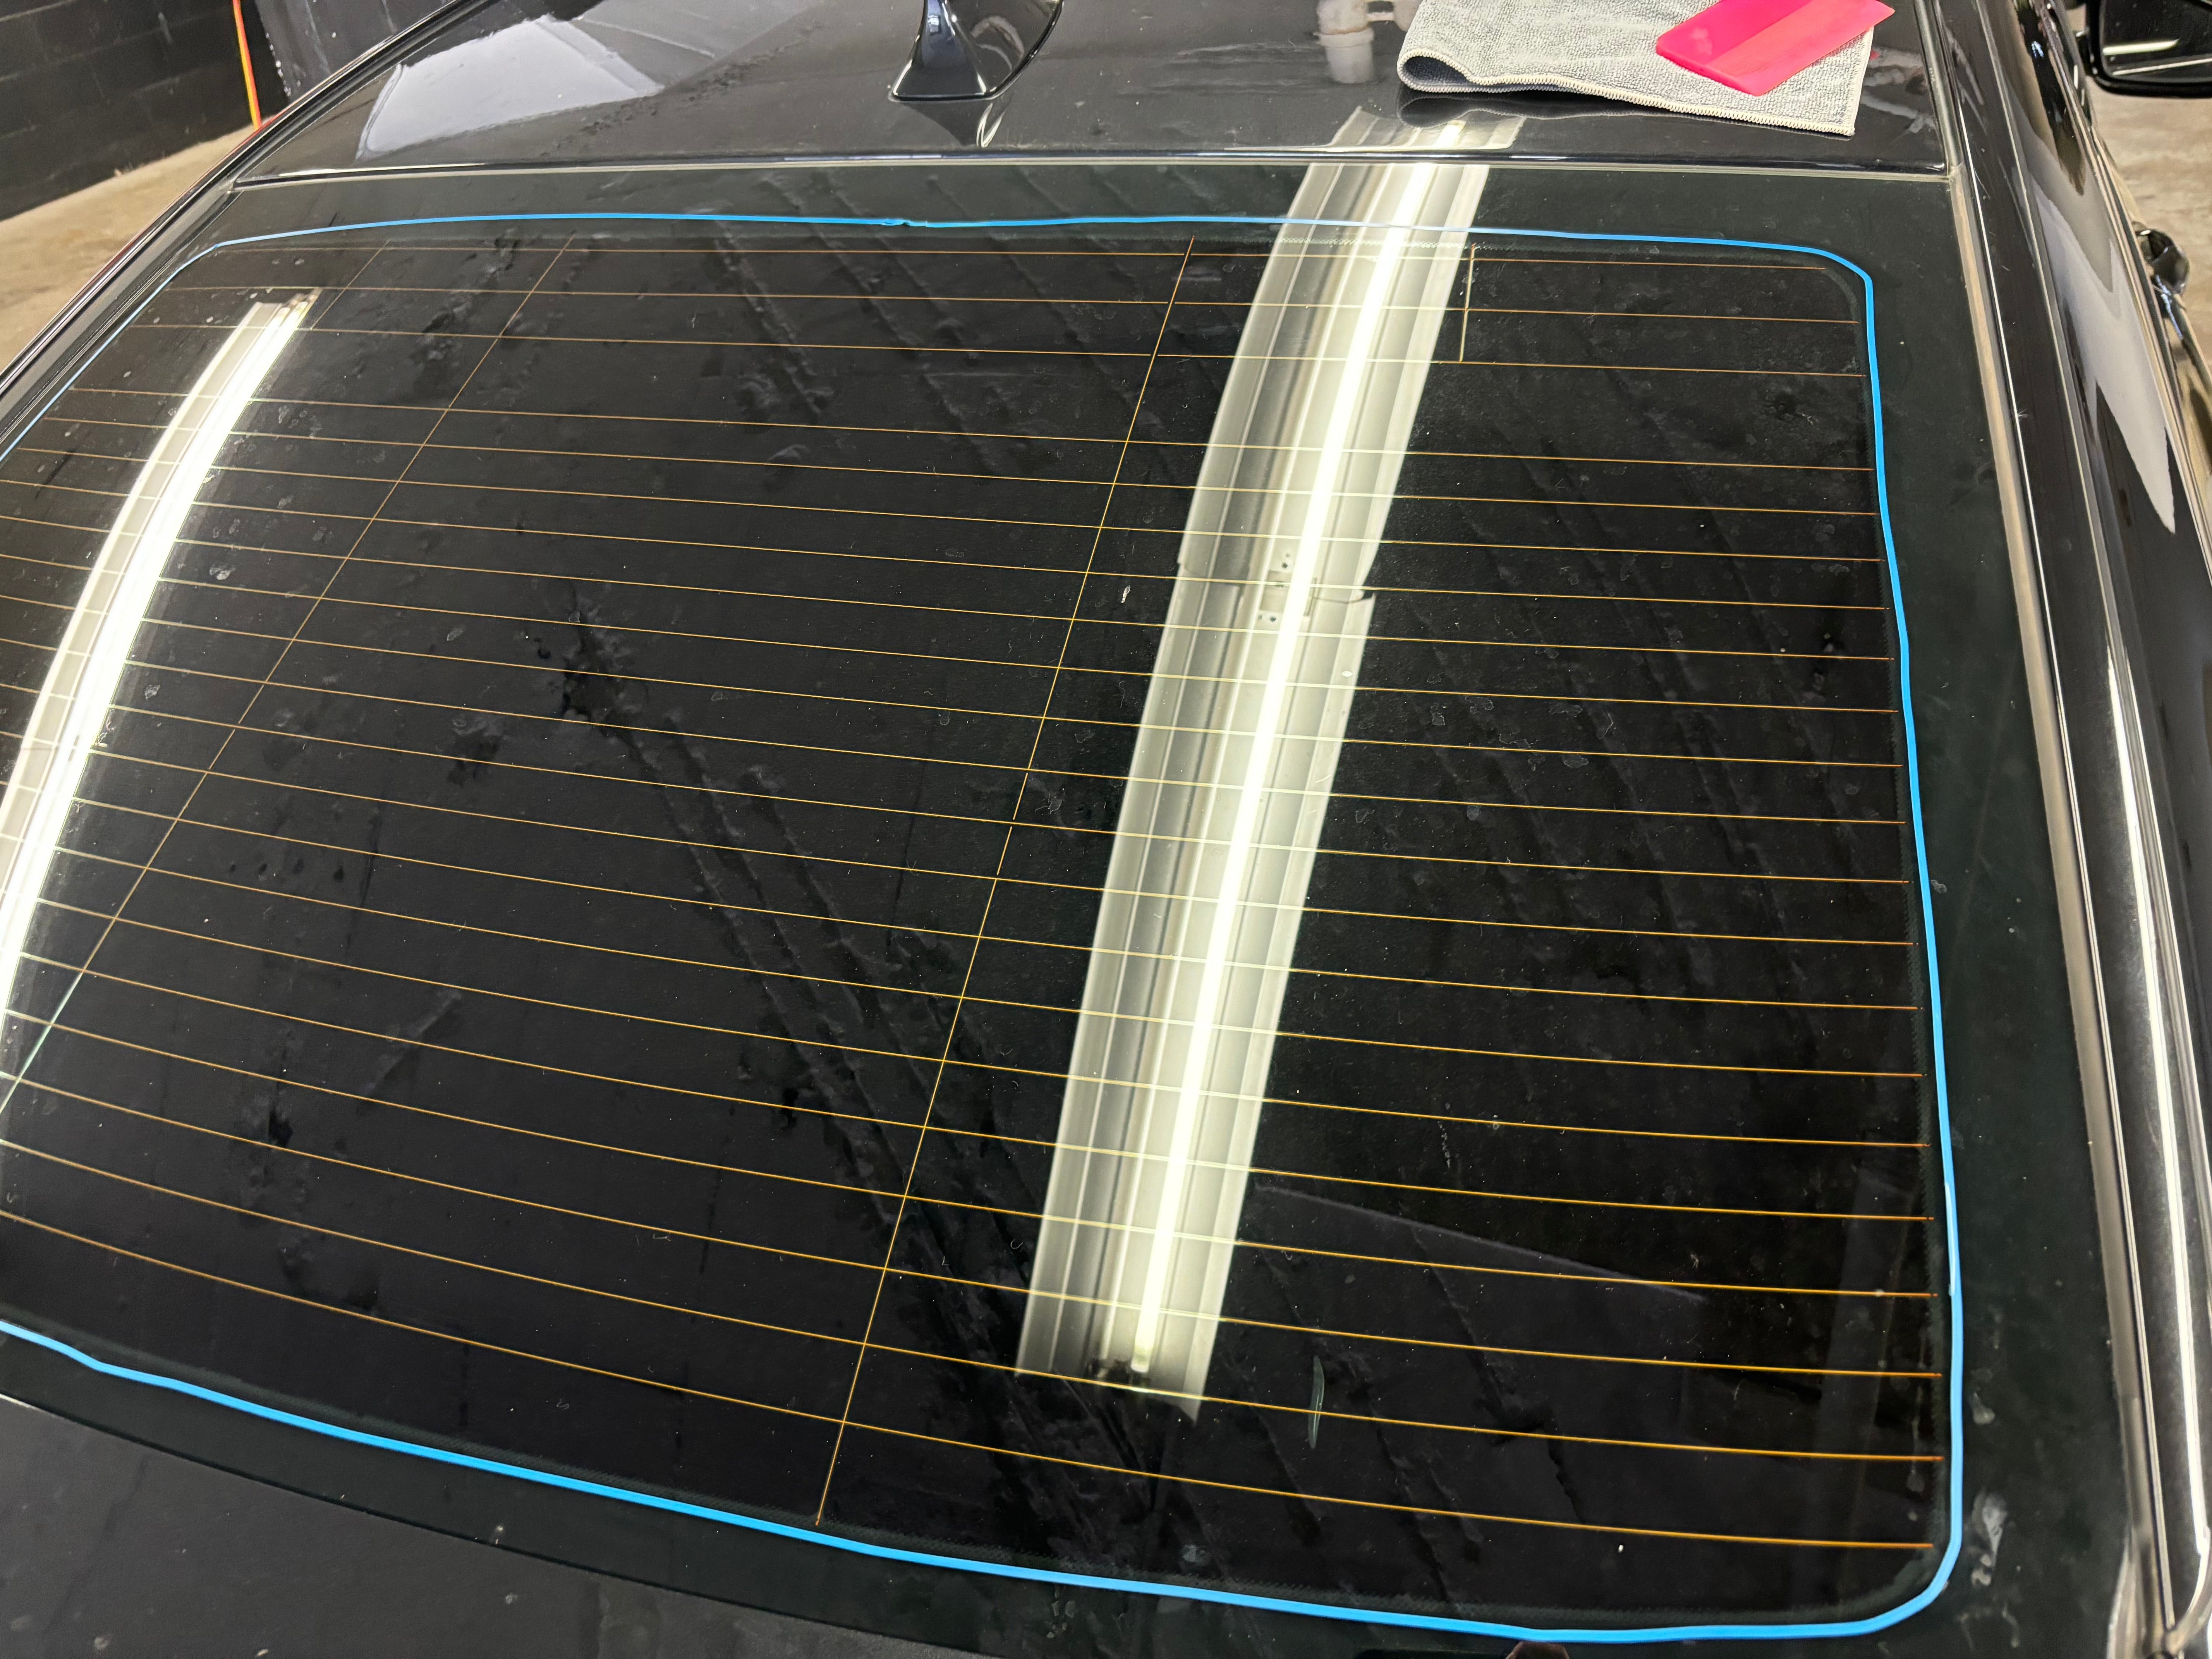
🔍 What Are White Spots in Window Tint?
White spots, also known as contamination, are small particles of dust, lint, or debris trapped between the film and the glass. They appear as small, cloudy bubbles and are most noticeable in direct sunlight or on dark-tinted glass.
❌ Common Causes of Contamination
-
Improper Cleaning
If the glass isn’t cleaned thoroughly before installation, leftover dirt or dust can become trapped. -
Dirty Environment
Tinting in a dusty garage or outdoors on a windy day increases the risk of particles landing on the film or glass. -
Contaminated Tools or Film
Using dirty squeegees, towels, or handling film with dusty hands can introduce unwanted debris. -
Static Electricity
Rubbing certain surfaces or film can create static, which pulls in airborne dust particles like a magnet.
✅ How to Prevent White Spots
At The Tint Academy, we teach these pro-level techniques to minimize contamination:
-
Prep the Area Thoroughly
-
Use a high-quality glass cleaner and razor blade to remove all dirt and debris.
-
Clean the window edges and seals where dust hides.
-
Spray down nearby surfaces to reduce airborne dust.
-
Work in a Clean Environment
-
Choose a dust-free, indoor space if possible.
-
Sweep the floor, spray water to trap dust, and keep fans off.
-
Wear lint-free clothes and gloves to avoid transferring particles.
-
Use Proper Tools and Techniques
-
Keep squeegees, cards, and towels clean.
-
Wet your fingers before handling the film to avoid fingerprints and static.
-
Always flush the film and glass with soapy water to remove loose contaminants before final installation.
-
Practice Dry Shrinking and Installation Control
-
Avoid creasing or overhandling the film.
-
Lay the film carefully and use firm, overlapping strokes to push water and air out.
🛠️ Can You Fix White Spots After Installation?
Yes—but it depends on the severity.
-
For minor spots, you may be able to press them out if the adhesive is still wet.
-
If the film has set and the spot is noticeable, removal and reinstallation might be necessary.
At The Tint Academy, we show students how to diagnose, clean, and reapply tint effectively to save time and maintain quality.
💡 Final Thoughts
Contamination is part of the learning curve in window tinting—but with the right training, you can minimize white spots and deliver clean, professional installs every time.
That’s why our hands-on courses are focused on real-world practice, proper technique, and expert feedback—so you leave with the skills and confidence to tint like a pro.
Want to learn the right way to tint and avoid costly mistakes?
Join a Tint Academy hands-on training course near you!
👉 Register Now for Certification Courses
—
The Tint Academy
Train with the pros. Tint with confidence.
Share and get 15% off!
Simply share this product on one of the following social networks and you will unlock 15% off!