
Tinting a sunroof is becoming one of the most popular add-on services in automotive restyling. Whether a customer wants better heat rejection, UV protection, privacy, or simply a sleeker look, a tinted sunroof upgrades both comfort and style. At The Tint Academy, we train installers across North America on how to tint everything—from side windows to advanced curved sunroof panels.
In today’s blog, we’re breaking down how to tint a sunroof properly, and we’re including our full instructional video so you can follow along step-by-step.
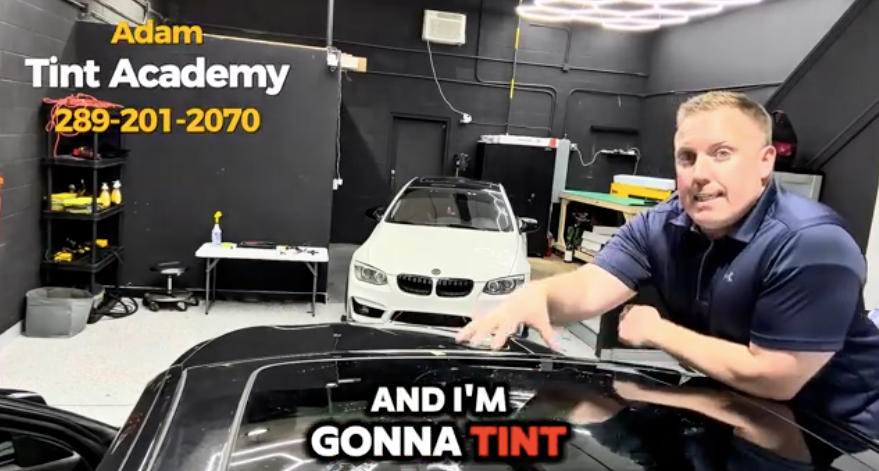
🎥 Full Sunroof Tinting Video Tutorial
(Insert your video link here – YouTube, Instagram, TikTok, or Loom)
Learn the complete process from prep to installation with The Tint Academy’s certified instructors.
⭐ Why Tint a Sunroof?
More and more vehicle owners are choosing to tint their sunroof for the benefits:
1. Heat Rejection
Modern panoramic roofs allow significant sunlight into the cabin. A high-quality ceramic film reduces interior temperature dramatically.
2. UV Protection
Tint blocks up to 99% of UVA/UVB rays—essential for protecting passengers and preventing fading on seats and dashboards.
3. Glare Reduction
A tinted sunroof makes driving more comfortable, especially on bright summer days.
4. Privacy & Style
A darker roof creates a cleaner, more uniform look and adds privacy for back-seat passengers.
🔧 What You Need Before Tinting a Sunroof
To tint a sunroof correctly, make sure you have:
-
Heat gun
-
Hard cards & squeegees
-
Slip solution
-
Microfiber towels
-
Window tint (ceramic recommended)
-
Cutting blade
-
Scrubber pad / wash mitt
-
Lighting for visibility
Sunroof glass is often thicker and more curved than door glass, so having the right tools is essential.
🛠 Step-by-Step: How to Tint a Sunroof
1. Clean the Glass Thoroughly
A sunroof accumulates dust, pollen, and debris due to airflow.
-
Use a scrub pad and slip solution
-
Clean edges carefully
-
Squeegee everything dry
Pro Tip: Clean twice. Sunroofs are magnets for contamination.
2. Measure, Cut & Prep the Film
Lay the film on the exterior of the sunroof to size it correctly.
-
Leave extra film around the edges
-
Tack the film into place
-
Use short, controlled strokes for precision
3. Heat Shrink the Tint (Outside)
Sunroofs usually have more curvature than standard windows.
-
Heat evenly
-
Use your hard card to guide the shrink
-
Avoid overheating the film to prevent distortion
This is the step where beginners often struggle—practice makes perfect!
4. Wet the Sunroof (Inside)
Spray your slip solution generously.
The film must float freely above the glass for a smooth install.
5. Install the Film
Place the tint carefully in the center and work outward.
-
Use a soft squeegee to remove initial water
-
Follow with a hard squeegee for the edges
-
Push out remaining bubbles
Pro Tip: Work slowly—sunroof film is large and tends to move easily.
6. Final Touches
Check for:
-
Micro-bubbles
-
Edge lifting
-
Distortion
Wipe the surface clean and allow the tint to dry.
🎓 Learn These Skills and More with The Tint Academy
Tinting a sunroof is a high-value service—usually charging $150–$300 for a simple job and upwards of $400 for panoramic roofs.
Our Tint Academy Certification Courses teach you:
-
Sunroof tinting
-
Back window shrinking
-
Door panel removal
-
Advanced ceramic film installs
-
PPF basics
-
Pricing & business growth strategies
With hands-on learning, one-on-one instruction, and professional tools, our students leave confident and ready to start earning.
📲 Want More Training Videos?
We regularly release tutorials on:
-
Tinting curved rear windows
-
Door panel prep
-
Knife-less cutting
-
Ceramic tint and IR heat demos
-
Complete car tint walkthroughs
Share and get 15% off!
Simply share this product on one of the following social networks and you will unlock 15% off!