


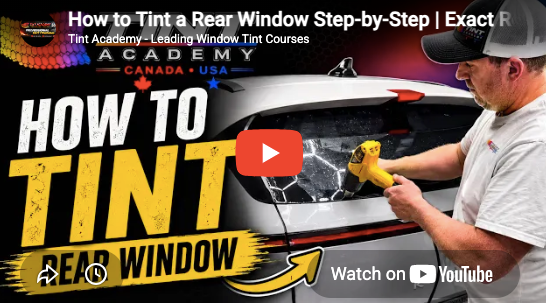
Ask almost any beginner which window feels the most intimidating, and they’ll probably say the rear window.
Its curved shape means the film must be properly prepared, heat-shrunk and shaped before installation. If the technique is wrong, you can quickly end up with fingers, creases, contamination or wasted film.
But the rear window doesn’t have to be difficult.
In our latest video, The Tint Academy walks you through the complete rear-window tinting process, including:
- Preparing and cleaning the glass
- Positioning the film correctly
- Heat-shrinking and shaping the film
- Controlling fingers without creating creases
- Preparing the pattern for installation
- Achieving a cleaner final result
▶️ Watch: How to Tint a Rear Window Step by Step
A video can show you the process. Our hands-on courses let you perform it yourself with an experienced instructor beside you.
At The Tint Academy, we break rear-window tinting into simple, repeatable steps. You’ll practise using professional tools and film, learn how to recognize mistakes and receive immediate help when something goes wrong.
No guessing. No months of struggling alone. Just practical training designed to help you build real confidence.
If the rear window is holding you back, let us make it easier.
Learn the skill. Master the toughest window. Build your confidence.
Call today to find an upcoming course:
Canada: 289-201-2070
USA: 321-364-9518
The Tint Academy
Learn the skill. Scale the skill.

Share and get 15% off!
Simply share this product on one of the following social networks and you will unlock 15% off!