


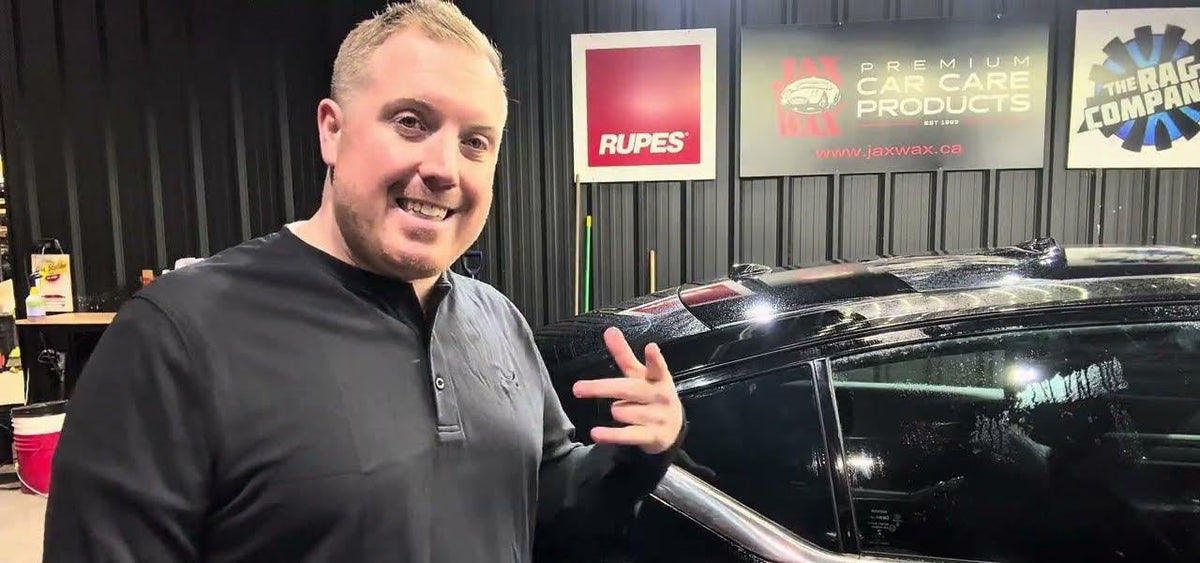
Quick answer: A common professional order is rear window first, then the driver window and the rest of the door glass, and the small quarter (blind spot) windows last. That's the order Adam from Tint Academy describes in our quarter window tutorial. Quarter windows go last because they use a small piece of film, don't need shrinking and are quick, and the extra time lets the rest of the car dry so you can fix any fingers or dirt before the customer arrives.
Below: why the order matters, how it compares with DIY kit advice, and a step-by-step method for the quarter windows that finish the job.
See Upcoming Window Tint Classes
Why the order you tint windows in matters
On a full car, your sequence decides how long each piece of film has to settle and when you get to check your work. A good order gets the most demanding piece, the rear window with its heat shrinking on the rear windshield, done while you're fresh, and finishes on quick pieces so you can inspect everything before the car goes back.
The pro sequence: rear window to quarter windows
1. Rear window first
Adam's order starts at the very back. The rear window is usually the largest and most curved glass on the car. If you're still learning it, read our step-by-step guide on how to tint a back window before you tackle a customer's car.
2. Driver window and the other door glass
From the back window, Adam goes to the driver window next, and the rest of the door glass follows before you finish on the quarter windows. Clean, consistent cuts matter here. Our guide to cutting window tint without scratching the glass covers the blade habits that protect the customer's windows.
3. Quarter and blind spot windows last
In the video, Adam explains that he does these "very last" for three reasons: they use a smaller piece of film, they don't need to be shrunk (so the film can go in any direction), and they take a lot less time. Finishing with them also lets the car dry out. If any fingers pop up or a speck of dirt appears as the other windows dry, you can go back and fix it while the car cures a little.
DIY kits vs a professional sequence
If you search this question, you'll find different advice. Many pre-cut DIY guides tell first-timers to start with the easiest glass. For example, DIY Tint's install guide suggests front doors first and the rear windshield last, so your hands are trained by the time you reach the hardest piece.
A professional tints cars every day, so the sequence is about workflow, drying time and quality control. Installers differ too: tinters on TintDude's "tint sequence" thread share their own orders, several starting with the back glass. The important thing is to pick a sequence, practise it until it's automatic, and save the quick pieces for the end.
Video: how to tint quarter windows (prep, cut and install)
In this video, Adam walks through his full quarter window process on a blind spot window: outside prep, cleaning dirt out of the seals, cutting the film on the glass, cleaning up the piece and installing it behind the seal.
How to tint a quarter window, step by step
These steps follow the video above. According to Adam, the two things to get right are clean cuts and a clean inside.

Step 1: Outside prep
Spray the window and scrub the whole outside with a blue scrub pad. Squeegee from the top and work your way down, then wipe every surface around the glass that the film could touch with a microfiber cloth.
Step 2: Inside prep, including the seals
Spray the inside of the glass and flush upward. Before the razor blade, wrap a microfiber towel around an Easy Reach tool, push it into the seal and come up and across. Adam points out how much dirt comes out of the seals. That's where most of it hides, and if you overspray during the install it can wash back under the film and cause white specks. Our guide to stopping window tint contamination covers this in more detail.
Step 3: Razor, flush, squeegee, repeat
With a fresh razor blade, come across the top and straight down. Spray, flush and squeegee the window, then repeat once or twice so the glass is completely clean.
Step 4: Lay and anchor the film
Spray the outside of the glass and lay the film. Because quarter windows aren't shrunk, the direction doesn't matter. In the video, Adam lays it at a 45° angle to show this. Anchor it into the glass so it won't slide while you cut.
Step 5: Cut with the blade in, then one click out
Don't enter the film with the knife out. Go in with the blade retracted, find your corner, then push the blade out just one click and cut, always pushing the film into the glass. Adam cuts the large side, then the bottom, the top edge and the small side.

Step 6: Clean up the piece
On a peel board, a piece of glass or the window itself, spray the surface, place the piece and anchor the sides. Round the sharp corners slightly with your finger and use a hard card to make sure every edge is straight.
Step 7: Final prep and install
Spray, squeegee and spray the inside glass once more. Get down to eye level, bring up one corner and slide the piece into place, then use a tuck tool to pull back the seal so the film sits behind it.
Step 8: Tack, squeegee and inspect
The piece can still slide, so give it a light spray and a light squeegee just to tack it to the glass. Then squeegee harder down the side, across the top and behind the seal, and do one more firm pass to push out the slip solution. Wipe everything off and look for dirt, dust, debris or suds. As an extra step, Adam runs a heat gun over the outside of the glass to help it dry and cure a little more.
Video: the mini squeegee for tight quarter windows
Adam shows how he cuts and installs quarter windows on a Honda Civic with a mini squeegee, a small tool for blind spot and quarter glass that's too tight for a full-size squeegee.
For more on these small windows, see our earlier guide on tinting 1/4 windows and blind spot windows. To build the muscle memory first, try these beginner window tinting practice drills.
Learn the full sequence hands-on
A sequence becomes habit when you repeat it on full cars with an instructor checking your cuts and prep. Tint Academy's 2-day hands-on window tint course covers the complete automotive installation process on real vehicles with professional ceramic film. No experience is needed, classes are small, and you take home a professional tool kit and a 100 ft roll of ceramic window film. Graduates earn Tint Academy's window tint certification, and over 10 years Tint Academy has trained more than 7,500 students. See what a 2-day window tint training class covers, or browse all window tint courses across Canada and the USA.
Upcoming window tint classes (check the course list for current seats and pricing):
- Calgary, AB and Niagara Falls, ON: November 21–22, 2026
- Winnipeg, MB and Montreal, QC: November 28–29, 2026
- Los Angeles, CA: December 5–6, 2026
- Edmonton, AB: December 12–13, 2026
- Toronto, ON; Las Vegas, NV; and Nashville, TN: December 19–20, 2026
See Upcoming Window Tint Classes
Questions?
Call or text: 321-364-9518 (USA)
Call or text: 289-201-2070 (Canada)
FAQ: What order to tint car windows
What order should you tint car windows in?
In Tint Academy's quarter window video, Adam describes the order he follows: start with the rear window, go to the driver window next, and leave the small quarter and blind spot windows until the very end.
Why tint the quarter windows last?
They use a small piece of film, they don't need to be heat shrunk, and they take less time. Doing them last also gives the rest of the car time to dry, so you can go back and fix any fingers or dirt that show up before the job is finished.
Do quarter windows need heat shrinking?
On the small quarter and blind spot windows shown in Tint Academy's video, no. Because they aren't shrunk, the film can be laid in any direction, even at a 45° angle, which helps you get more pieces out of your offcuts.
Where does dirt hide on quarter windows?
In the seals. Adam flushes the glass upward, then runs a microfiber towel on an Easy Reach tool deep into the gasket before using the razor blade. Dirt left in the seals can wash back under the film and cause white specks.
Do Tint Academy courses cover the full car?
Yes. The 2-day hands-on window tint course covers the complete automotive installation process on real vehicles, and students take home a professional tool kit and a 100 ft roll of ceramic window film.
Sources: Tint Academy videos Easy Way to Tint Quarter Windows | Pro Prep & Install Tips and Trouble with small quarter or blind spot windows? Try using this “mini” squeegee; diytint.ca install guide; TintDude forum. Check your state or provincial tint law before choosing a shade.

Share and get 15% off!
Simply share this product on one of the following social networks and you will unlock 15% off!